Follow one tomato bed from seed to the next crop, turning each close look into a practical next step.
The story remains readable without 3D. Each chapter names the same bed, the observation, the source, and the next useful action.
Enter the tunnelOne bed · notice what changes
01ONE BED · ONE STORY
Start with the same small place.
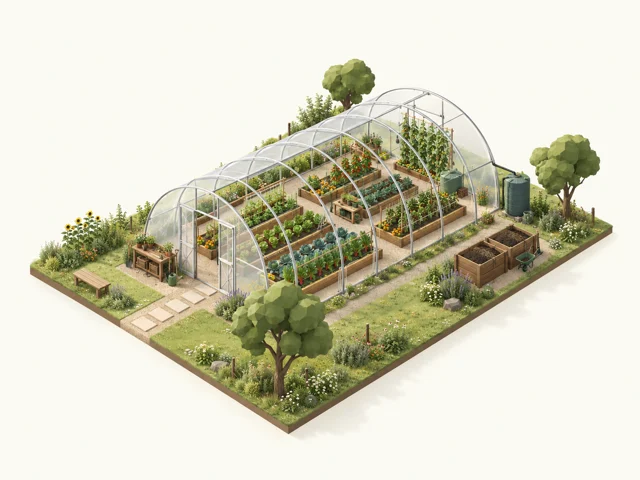
This is one tomato bed under one high tunnel. Stay with the same place from emergence to the next crop, and notice how each decision starts with looking closely.
Try this: Name the season where you grow and choose one detail you want to notice first.
Your tunnel’s light and weather set the pace; use this shared view to orient your first look.
A clear aisle makes it easier to compare plant changes and notice where to look first. Read the source ↗
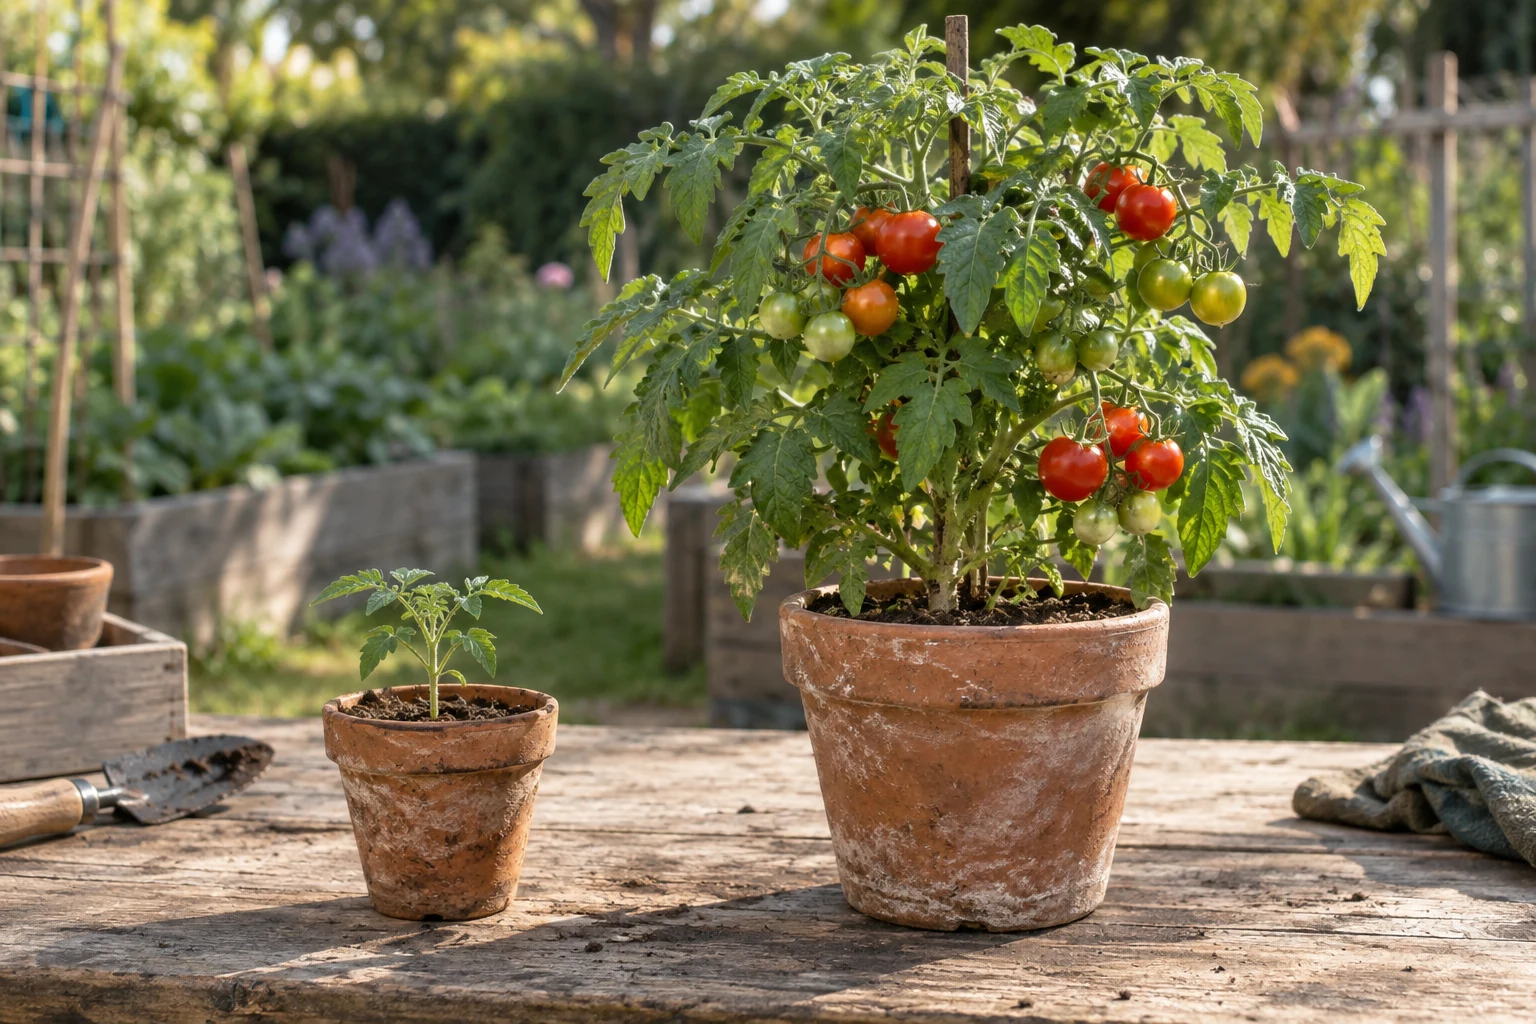
Start at the seedling: notice the seed coat, the first root direction, cotyledons, and then true leaves. Separating these steps helps you describe progress clearly and compare it with your variety guidance.
Try this: Check the seed packet or a local Extension guide, then mark the first feature you can see.
Cultivar, light, temperature, and growing conditions shape the pace.
Follow the seedling from its first root direction to the first true leaves as growth unfolds. Read the source ↗
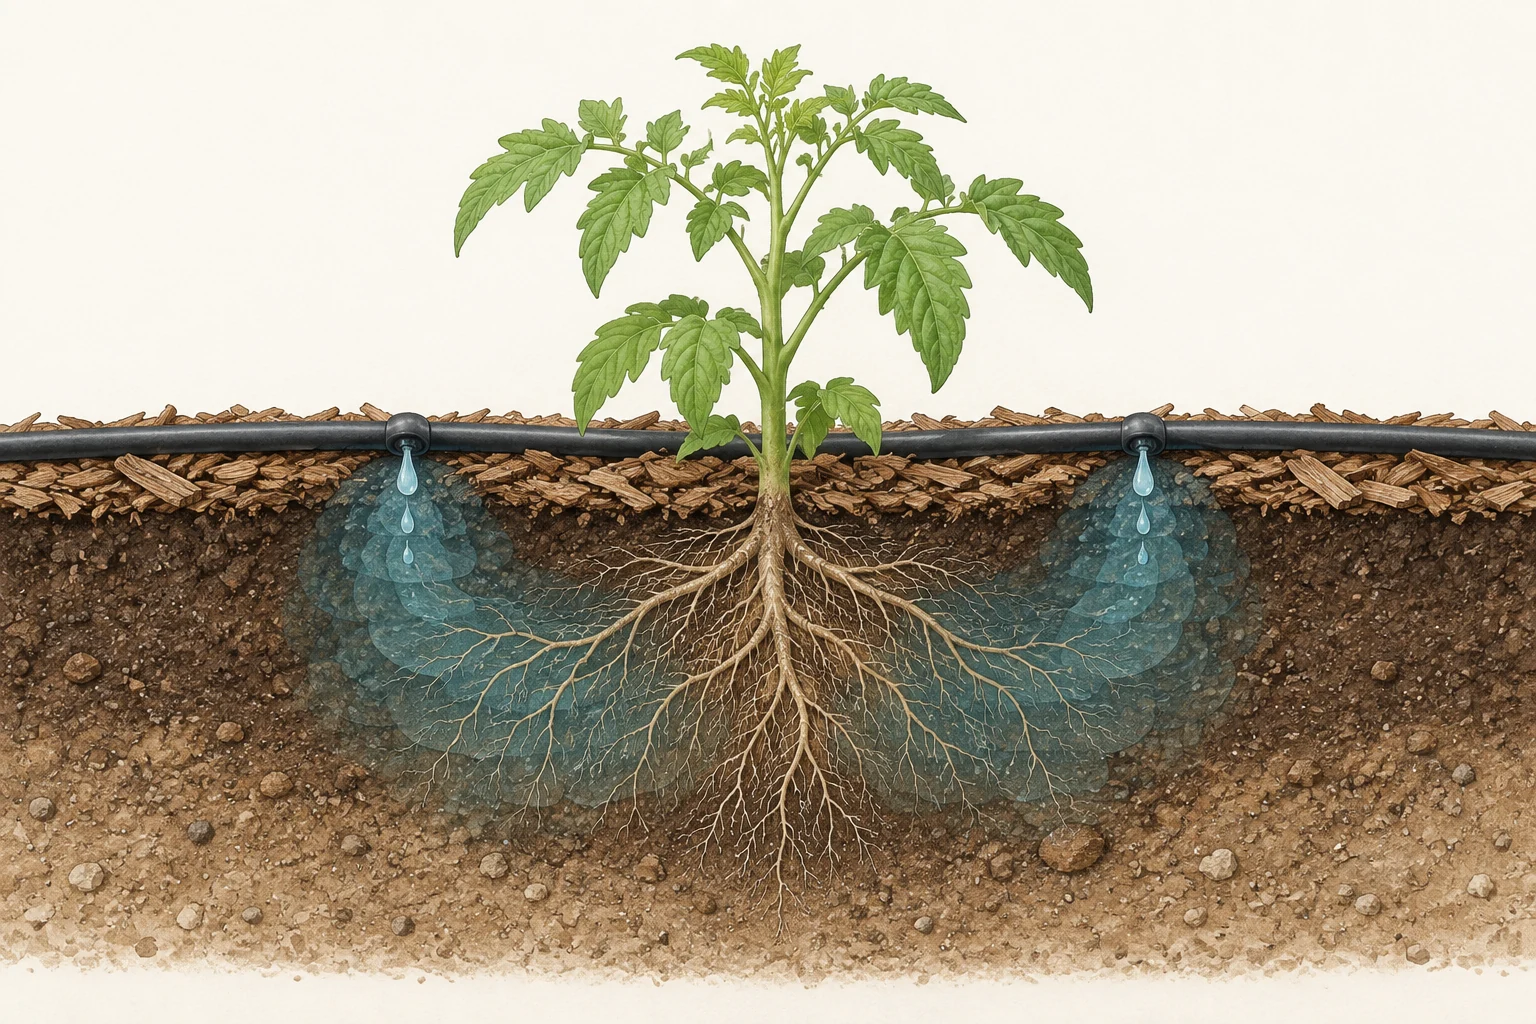
Follow water from emitter to soil surface and roots. Comparing moisture, drainage, and the plant’s condition gives you a better watering decision than a timer setting alone.
Try this: Check one planted spot at the surface and just below; note where moisture is and where roots are active.
The cutaway is a starting map; your soil and root zone show the actual pattern.
Use the drip line and root zone as prompts to compare the soil surface with what is happening below. Read the source ↗
Keep two checks together but distinct: support holds the vine, while ventilation depends on openings and conditions. Looking at both helps you choose the next small adjustment.
Try this: Tie or support the growth that needs it, then check the openings and canopy for steady air.
Start with the actual openings, canopy, and weather around your tunnel.
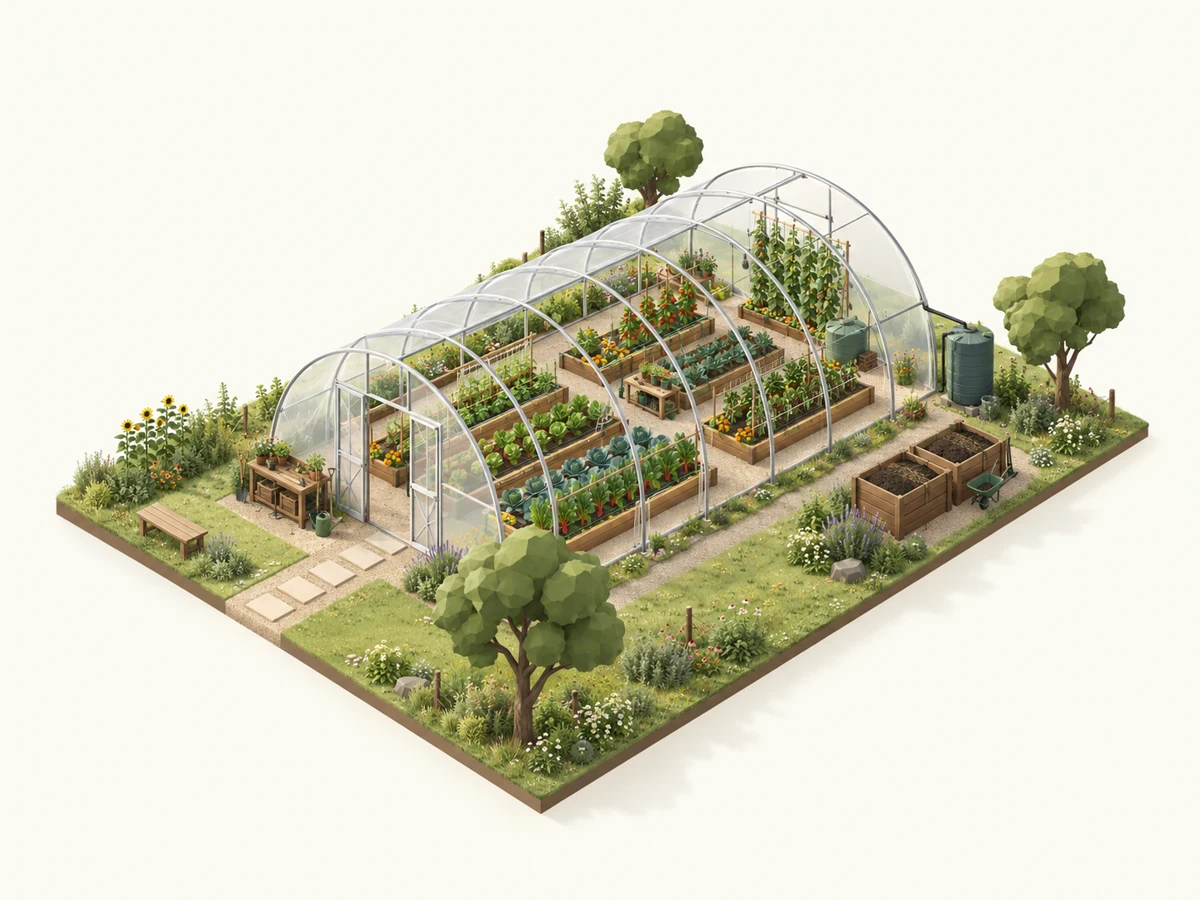
A supported canopy and open aisle make it easier to inspect growth and air movement. Read the source ↗
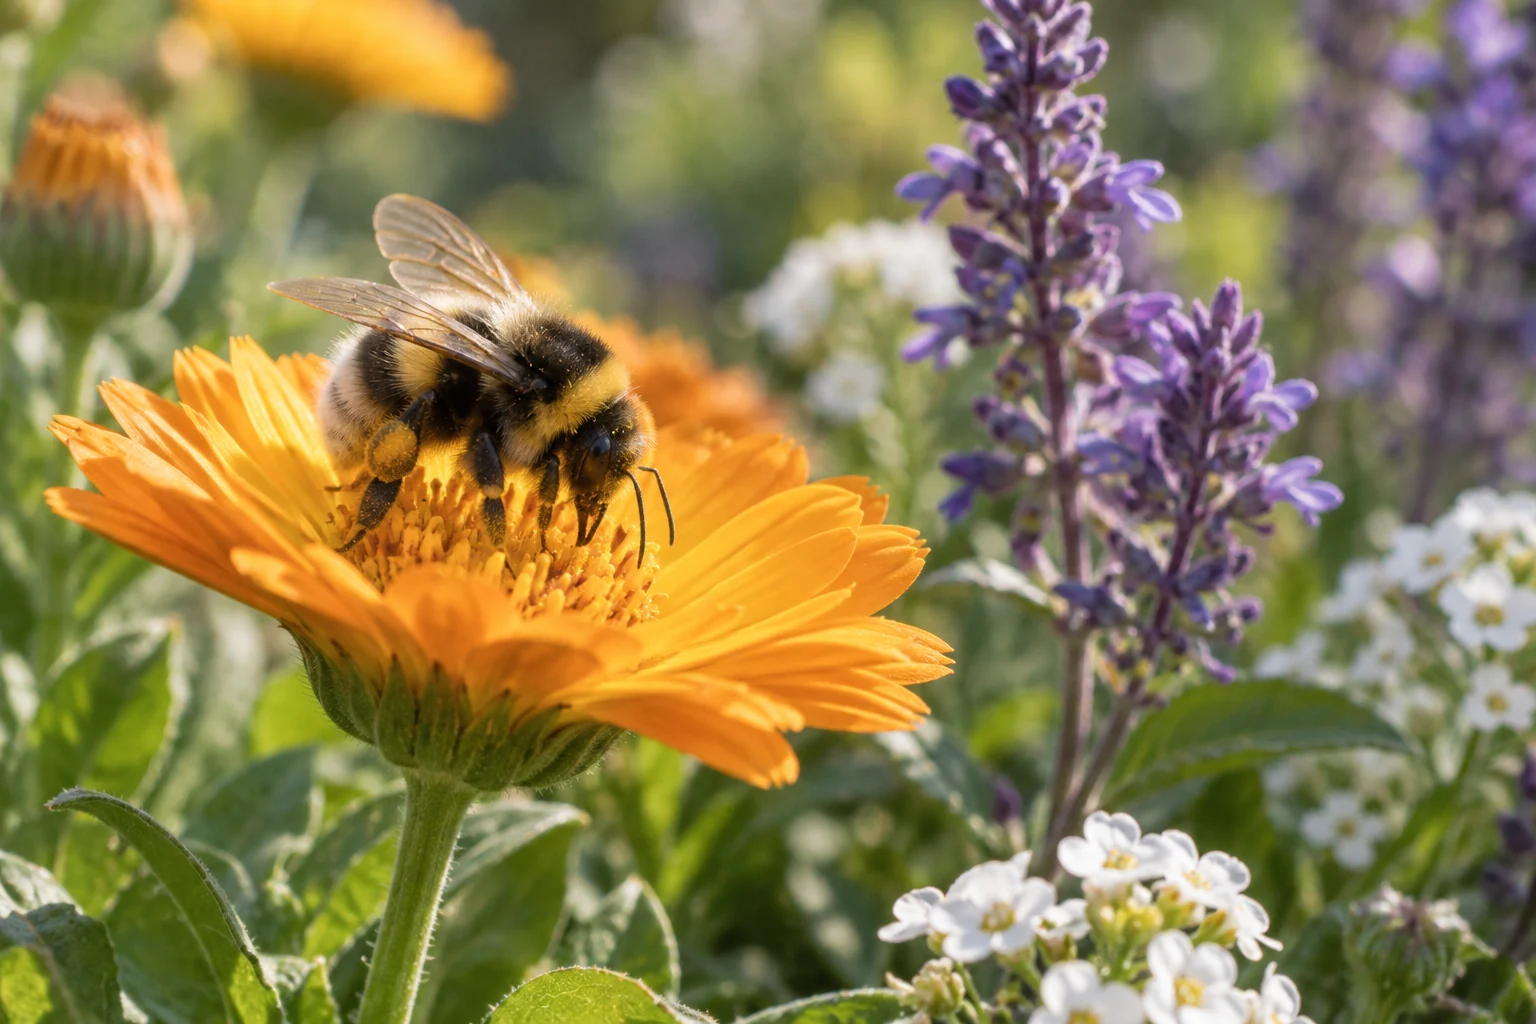
Flowers and fruit tell a connected story. Identify the crop and cultivar, then watch for open flowers, visitors, and young fruit as pollination conditions change.
Try this: Find one open flower and one developing fruit; record what is present today.
Pollination needs vary with crop, cultivar, climate, and region.
Watch the flower, the visitor, and the small fruit that follows to connect pollination with fruit set. Read the source ↗
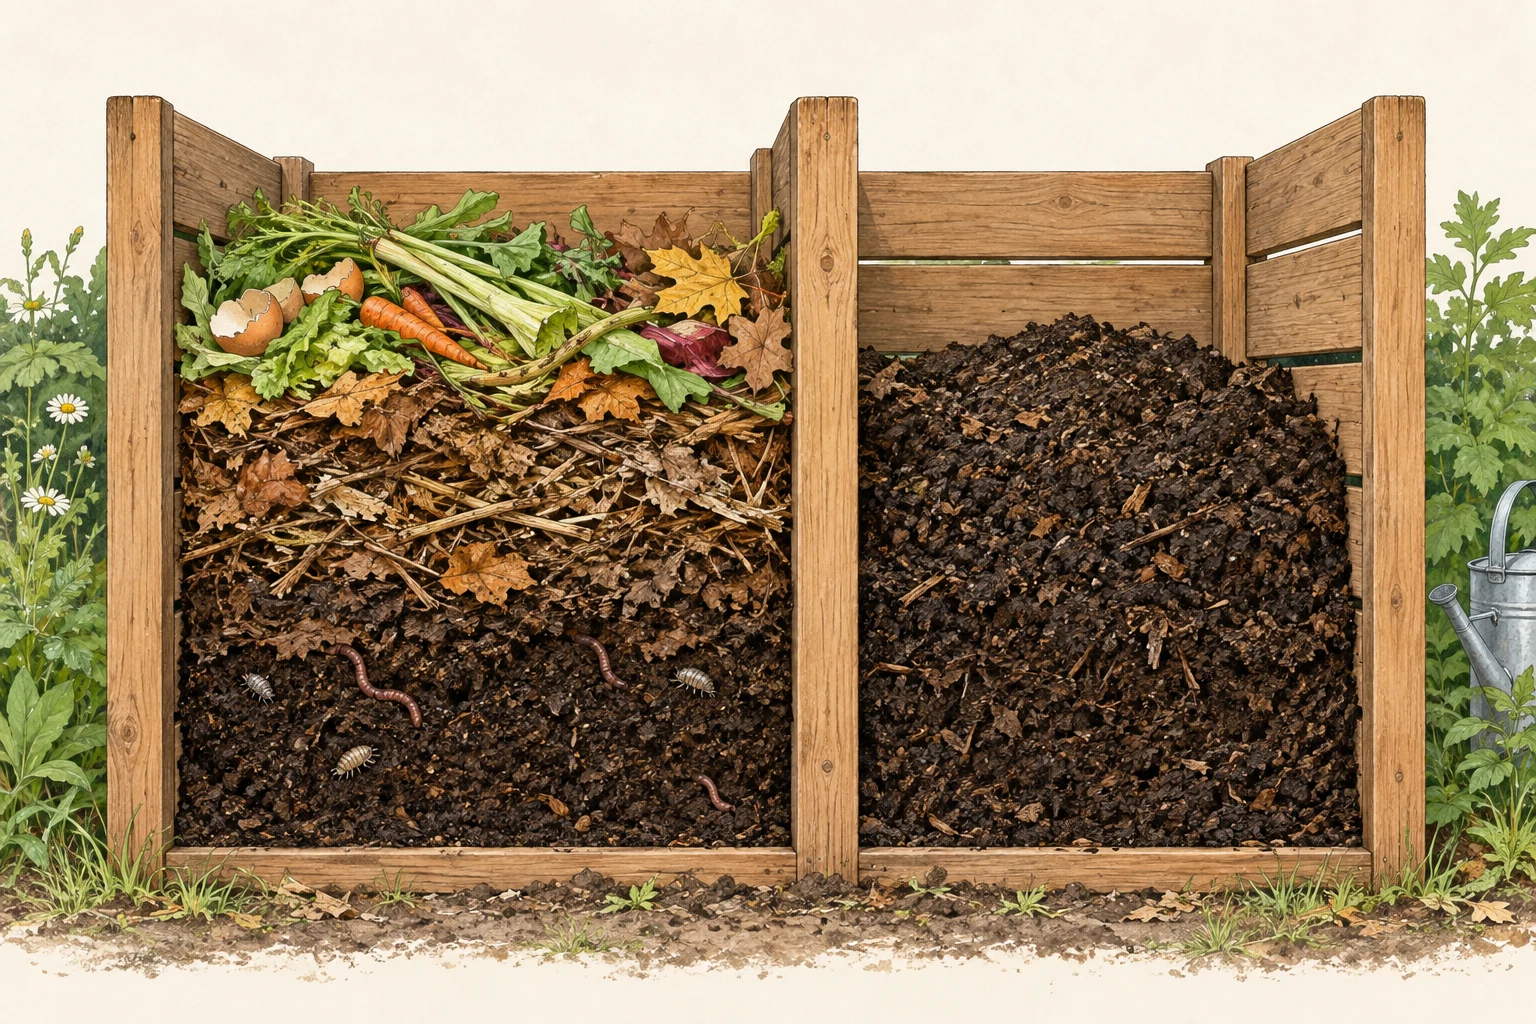
Separate fresh trimmings from older material and keep the next use in mind. A clear batch record helps you decide what belongs in the bed and what needs more time.
Try this: Record what changed in the bed and what material is actually entering the compost process.
Match the material, moisture, stability, and intended use before applying compost.
Separate fresh scraps from older material so each batch has a clear next use. Read the source ↗
Clear what changed, keep the working space useful, and choose what the next crop needs. A local frost window, crop maturity, cold tolerance, and bed condition turn that choice into a plan.
Try this: Save one observation, one source, and one next step in your fieldbook.
Use the local frost window and bed condition to choose the next planting date.
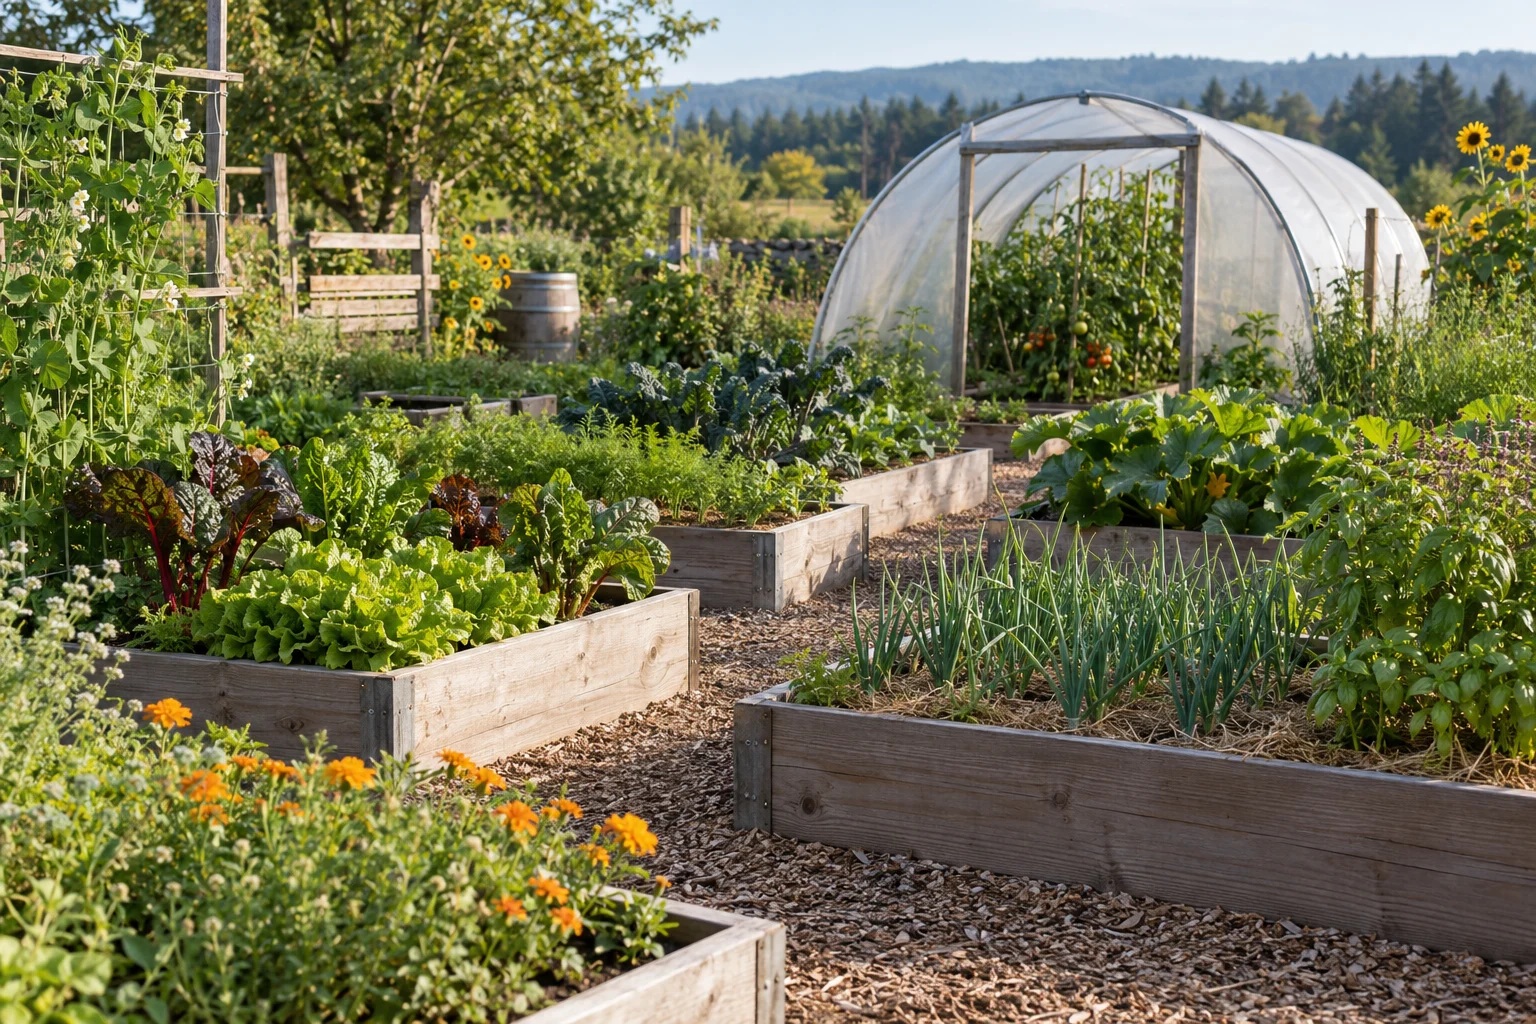
Open beds and a clear tunnel help you see where the next crop can fit. Read the source ↗